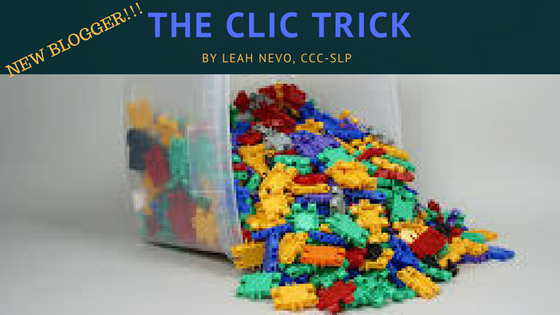
Want to hear about an effective and versatile therapy tool that the kids love too? They’re called Clics, and they can be commonly found in stores (Amazing Savings anyone?), or online for as little as $15-$20.
Click here for link I may have pilfered a few from my son’s toy collection…shhh
And my favorite thing about them? It just takes two Clics and your awesome visual cue is ready to go!

Morphology: Teaching grammatical verb inflections can be made fun and engaging with this simple visual. Whether it’s regular past tense –ed, present progressive –ing, or plural –s, students with language-learning disabilities will be able to concretely see how we add on parts to end of verbs to change meaning. The first Clic is used for the base verb (e.g. Clap or Climb). For students with more limited vocabulary, you can tape little pictures to the Clic to show the verb. On a second different colored Clic, I then write the targeted grammatical inflection (e.g. ed) with dry erase marker (comes right off when you’re done;-)) and attach the second Clic to the first base word Clic. Tada!

Now, when modeling the use of the grammatical inflection, you have an effective visual to accompany your words. Once the students become more comfortable with the visual, you can then fade the verbal model, and use the Clics as a visual support that the kids can use during writing tasks and in conversation!
Pragmatics: Clics have definitely come in handy while working on topic maintenance and turn-taking with my students on the Autism spectrum and with Attention Deficit Disorder. I often begin by holding up two connected Clics to the students, and explaining that in order to have a conversation, the speaker and the listener need to be “connected” or have “connected thoughts.”
So if I’m talking about pizza (point to the first Clic) and you’re talking about pizza (point to the second Clic)…then we are connected. But if I’m talking about pizza, and you’re talking about the snow (I then break the Clics apart and pair it together with a confused facial expression ), then our conversation is broken!


Throughout our sessions, I will then leave the connected Clics as a visual reminder of staying on topic, and when I catch a student in the act of making tangential responses, I simply break the connected Clics and voila! I have the student’s attention. I then point again to the first Clic, reiterate the topic that was being spoken about, and have the student reflect on what they can say to connect our conversation again. A correct response is then rewarded by having the student actively connect the Clics back together. You can take data by marking how many times the Clics were broken during a session. With turn taking, I often have each student choose his own colored Clic, connect them together, and then use colored Clics as a visual reminder of whose turn it is to speak. This visual/kinesthetic cue has such an effective impact, that my students will still refer to it years later, even when that visual is long gone from their sessions.


Articulation/Phonological Processes: What an easy way to demonstrate using our “tail sounds” for fi
nal consonant deletion! Similar to using it for grammatical inflections, I will often point to the first Clic to represent the first part of the word (e.g. moo….) and then point to the second Clic and emphasize the final sound (e.g. /n/) and then sweep back to say “moon.” If a student forgets their “tail” sound, then I simply break apart or bend the second Clic backwards to show how the final sound was missing. Students are often able to self-correct using the visual. I have also used the Clics for producing consonant clusters, with each Clic representing a different sound in the cluster.
But wait there’s more….
Clics can be used as a useful visual cue for prefixes/suffixes, phonemic awareness and even synonyms/antonyms (same color for synonyms, different for antonyms). And to add to its versatility, you can tape on pictures or write on them with dry erase markers based on the needs of the student and the targeted goal.
So let me hear, what tricks can you do with your Clics?
Please share other therapy ideas you may have for Clics, or post a Clic success story below!
Great idea! I have used the “click trick” with one of my students diagnosed with autism. He had such difficulty staying on topic but one lesson with the clicks really “clicked” with him. He suddenly understood what it means to maintain the topic. Thank you for the recommendation!